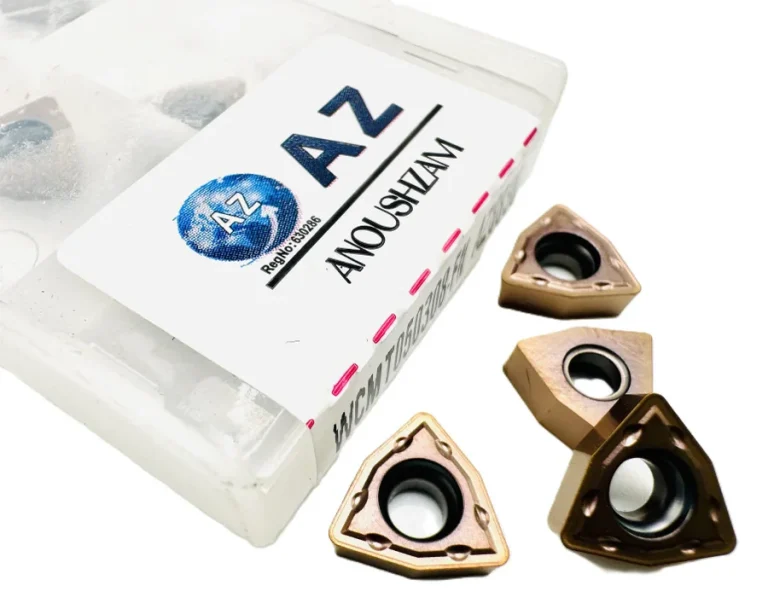
CNC U-drill selection starts with hole diameter, depth, workpiece material and insert type. Appearance or the WCMT label alone does not prove compatibility; verify the body code and datasheet against the machine and component.
Start with the drawing
Record final diameter, depth, tolerance, surface requirement and whether the hole is blind or through. Include material condition, scale or skin, pilot hole and depth limit. For deep holes, use the drill maker’s depth-to-diameter range and evacuation instructions.
Match body code, nominal diameter, recommended depth, shank interface and coolant method to the datasheet. Confirm compatibility with the holder, collet or spindle interface.
Drill body and holder
Check diameter, overall length, cutting length, shank and coolant channels. Excessive overhang may reduce stability. Inspect runout, seating and workholding before machining. Check fixture clearance and simulate the motion.
WCMT insert code and grade
Center and peripheral inserts may have different grades or cutting positions. Read full code, pocket position, nose radius and material range from the exact datasheet. Do not infer application or cutting data from the WCMT prefix alone. Inspect the seat, screw and orientation, and use inserts approved for that drill body.
The Anoush ZAM catalog lists an example WCMT050308-FN-AZ8830 insert for U-drilling. Final fit must be checked against its body and exact maker information; this listing does not claim compatibility with every U-drill.
Hole depth and chip evacuation
Chips must leave the flute. In a blind hole, packed chips or inadequate coolant can increase breakage risk. Set entry, dwell and exit according to the tool and machine instructions. Never copy a generic depth or feed value. During through-hole drilling, a chip disc can eject at speed; use the machine guard and approved safety procedure.
Installation and safety checklist
- Stop the machine under the workshop procedure and clean the seat.
- Compare insert code and orientation with the pocket drawing.
- Check the maker’s screw and tightening torque instructions.
- Use the approved program and guard; monitor load.
- Record diameter, wall quality, chips and edge condition after the trial.
Anoush ZAM reports 40 years of machining and technical consulting experience and 2.5 years of sourcing and trade. For a precise enquiry, send hole size and depth, material, body and insert codes and required quantity via the enquiry form.
Related catalog examples
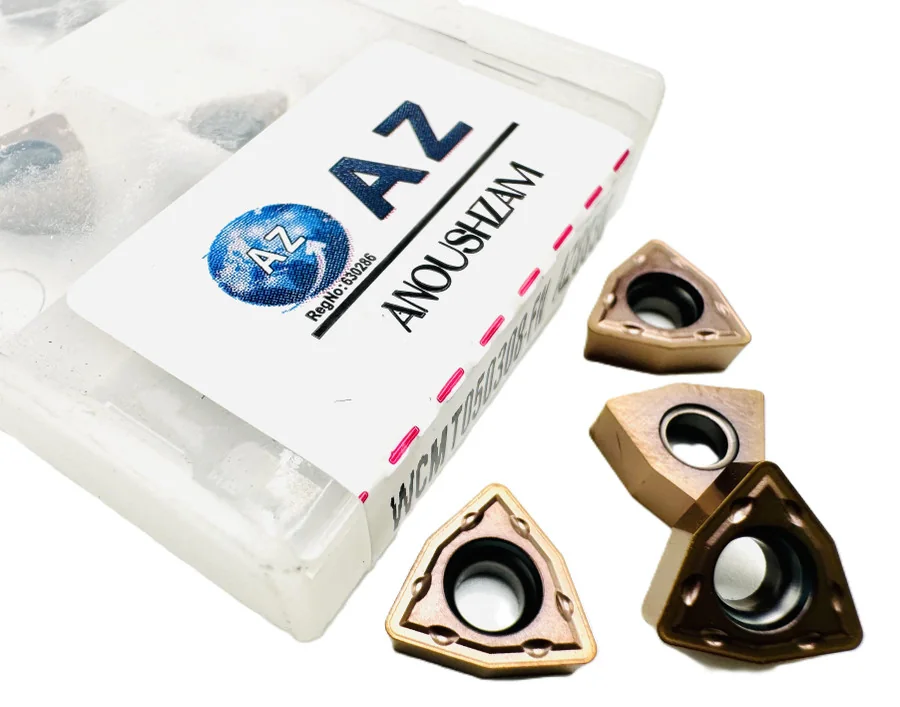
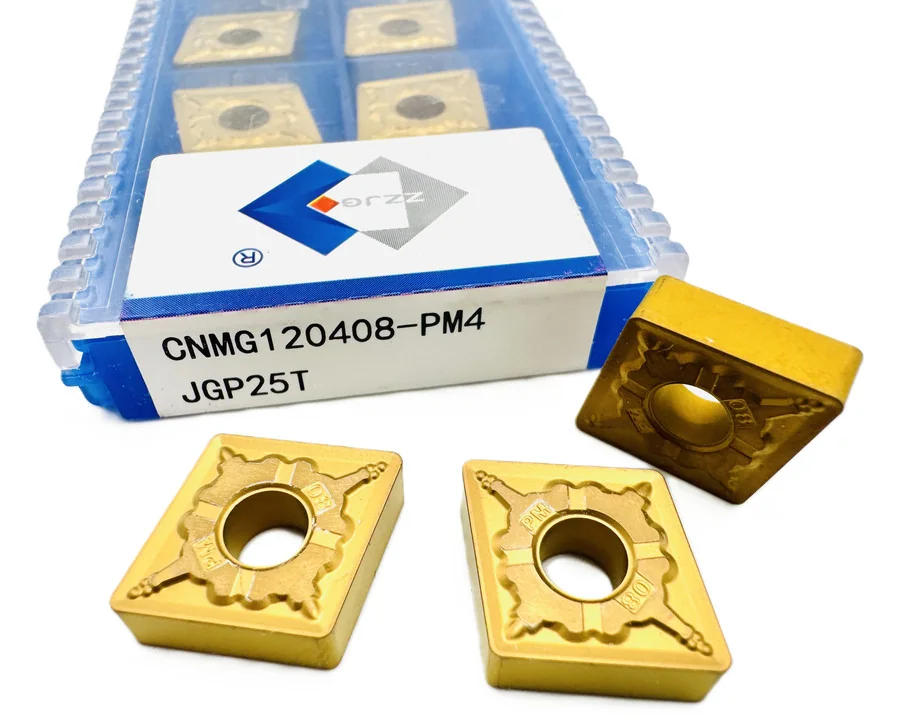
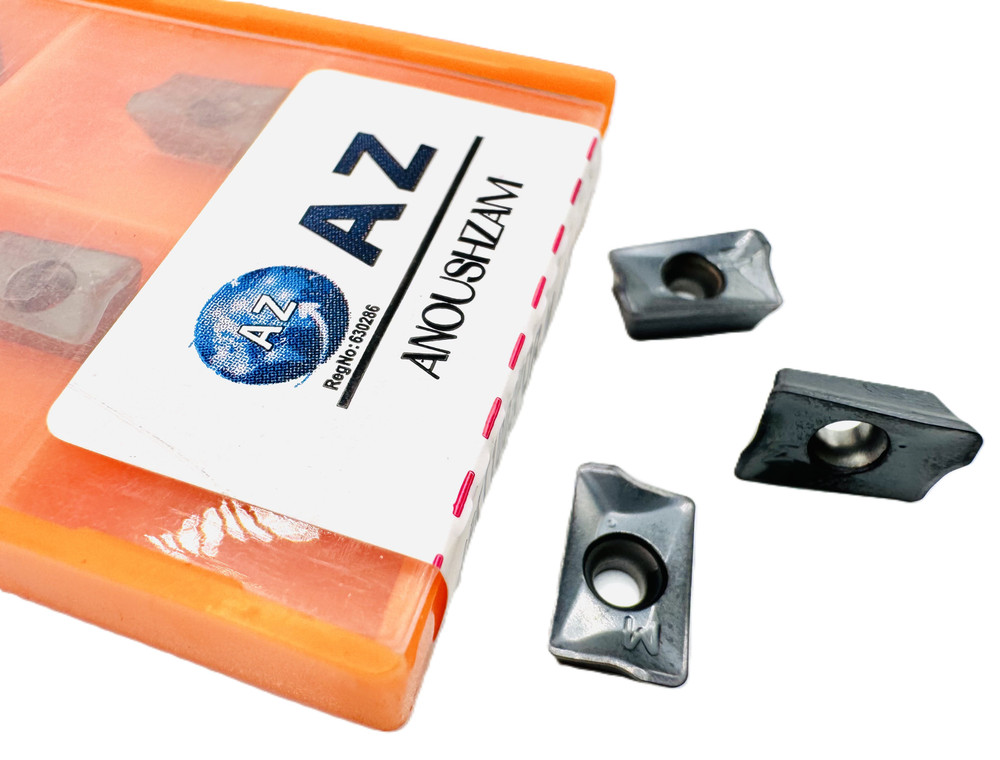
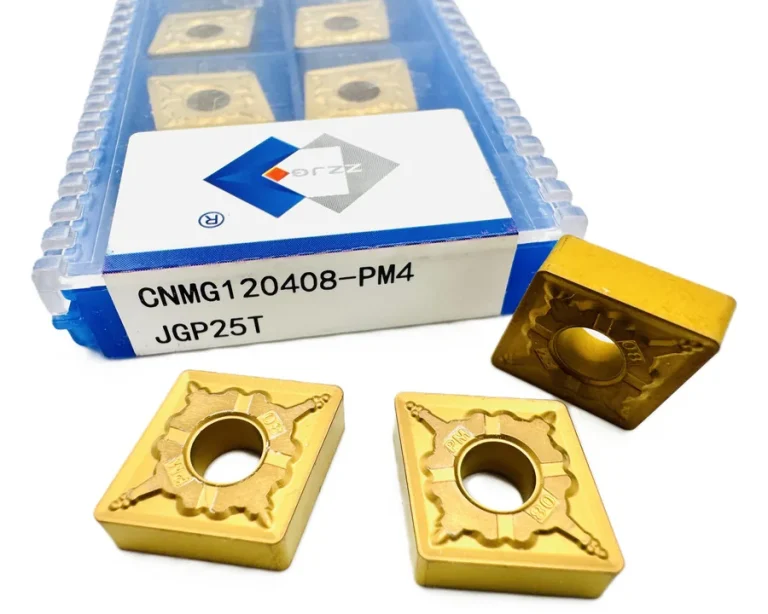
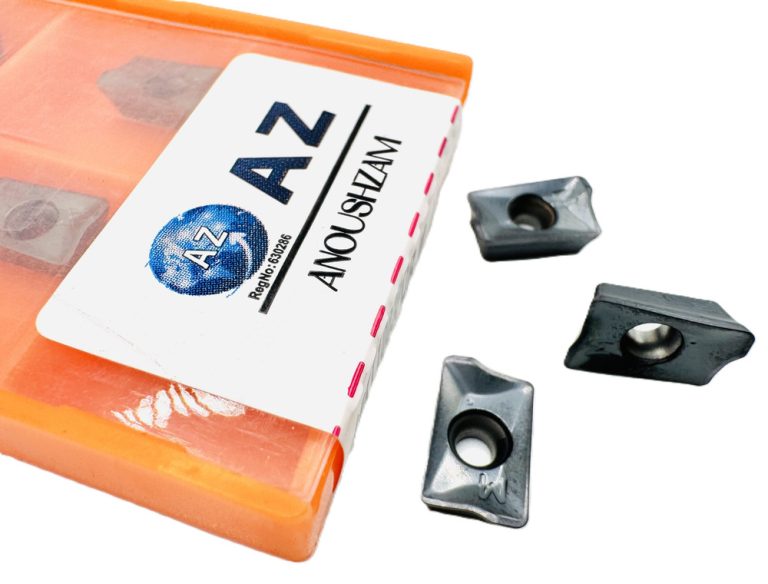
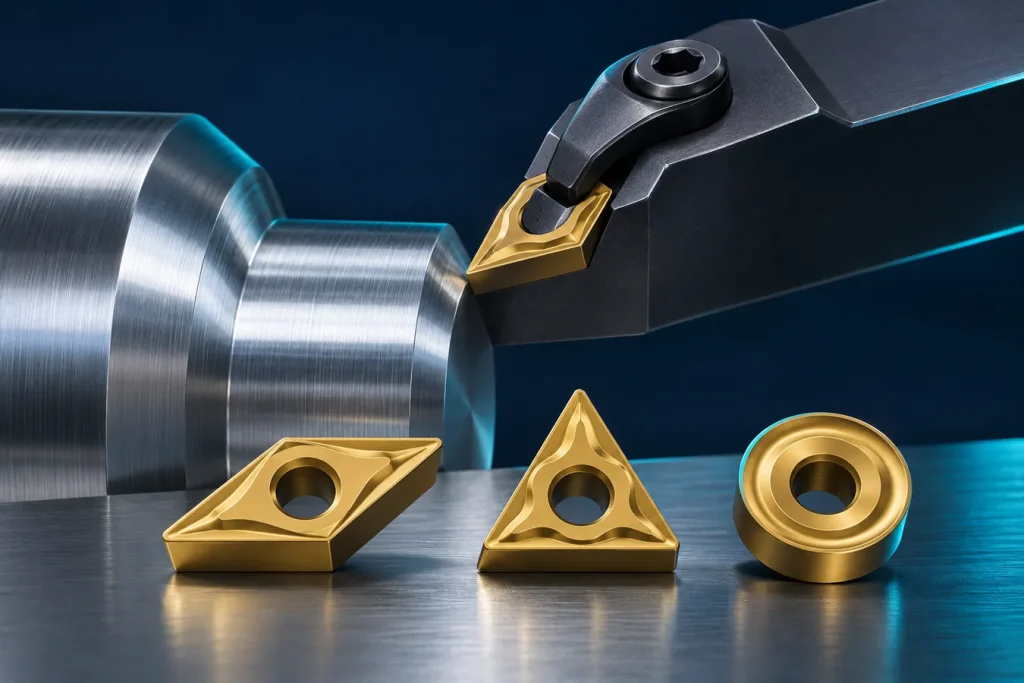
Images illustrate catalog listings. Confirm exact code, fit and availability for your order.
FAQs
Does every WCMT insert fit every U-drill?
No. Check shape, size, seat, orientation and the drill maker’s approved insert list.
When should an insert be replaced?
Compare wear, chipping, load and hole quality with the maker’s limits and your inspection criteria.
Safety and technical references
For the actual tool and machine, use exact datasheets, approved programs and machine safety instructions.
Inspect the seat and insert before drilling
Start any change with the machine safely stopped and secured according to the workshop procedure. Clean the seat, inspect for damage, and verify the screw or clamp against the tool maker’s instructions. Worn parts or an incorrect installation method can create risk. Recheck the insert code and orientation after fitting.
For deep holes, plan chip exit and coolant conditions before production. Run only an approved first-off program, then measure the bore and inspect the edge at a defined interval. For a replacement enquiry, send the body code, WCMT code, workpiece material and a clear photo of the seat so the set can be checked.
Use this guide for initial understanding and comparison. For operating limits, safety and exact settings, follow the manual and datasheet for the specific tool model and your workplace procedures.