
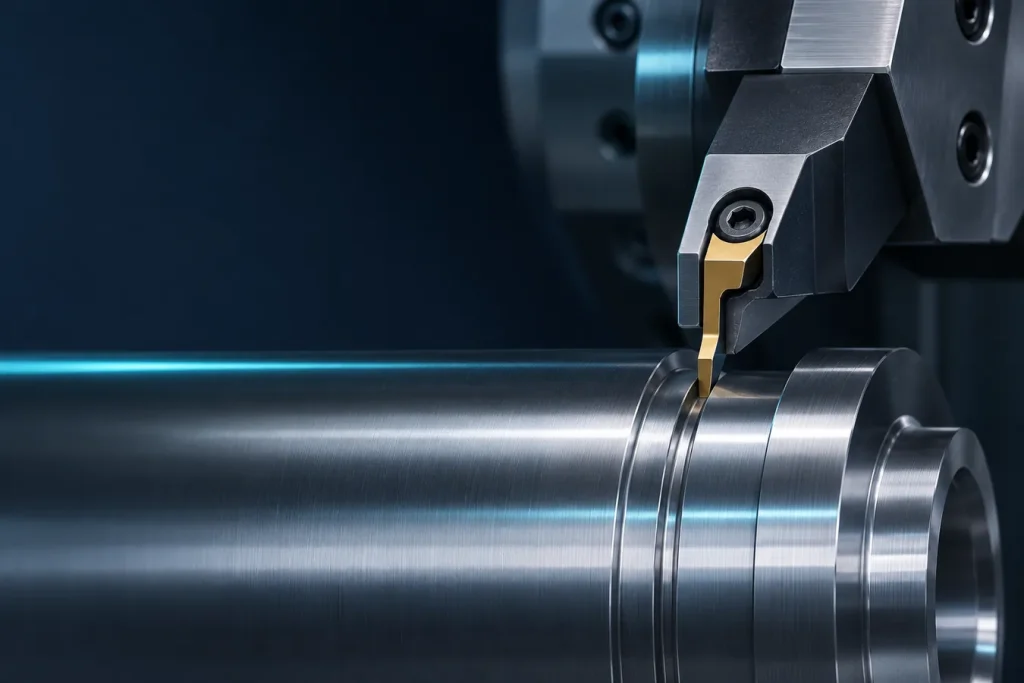
Chip control in CNC turning: 6 insert selection checks. Use the insert maker’s application chart and the actual operating point to investigate chip shape and safe evacuation.
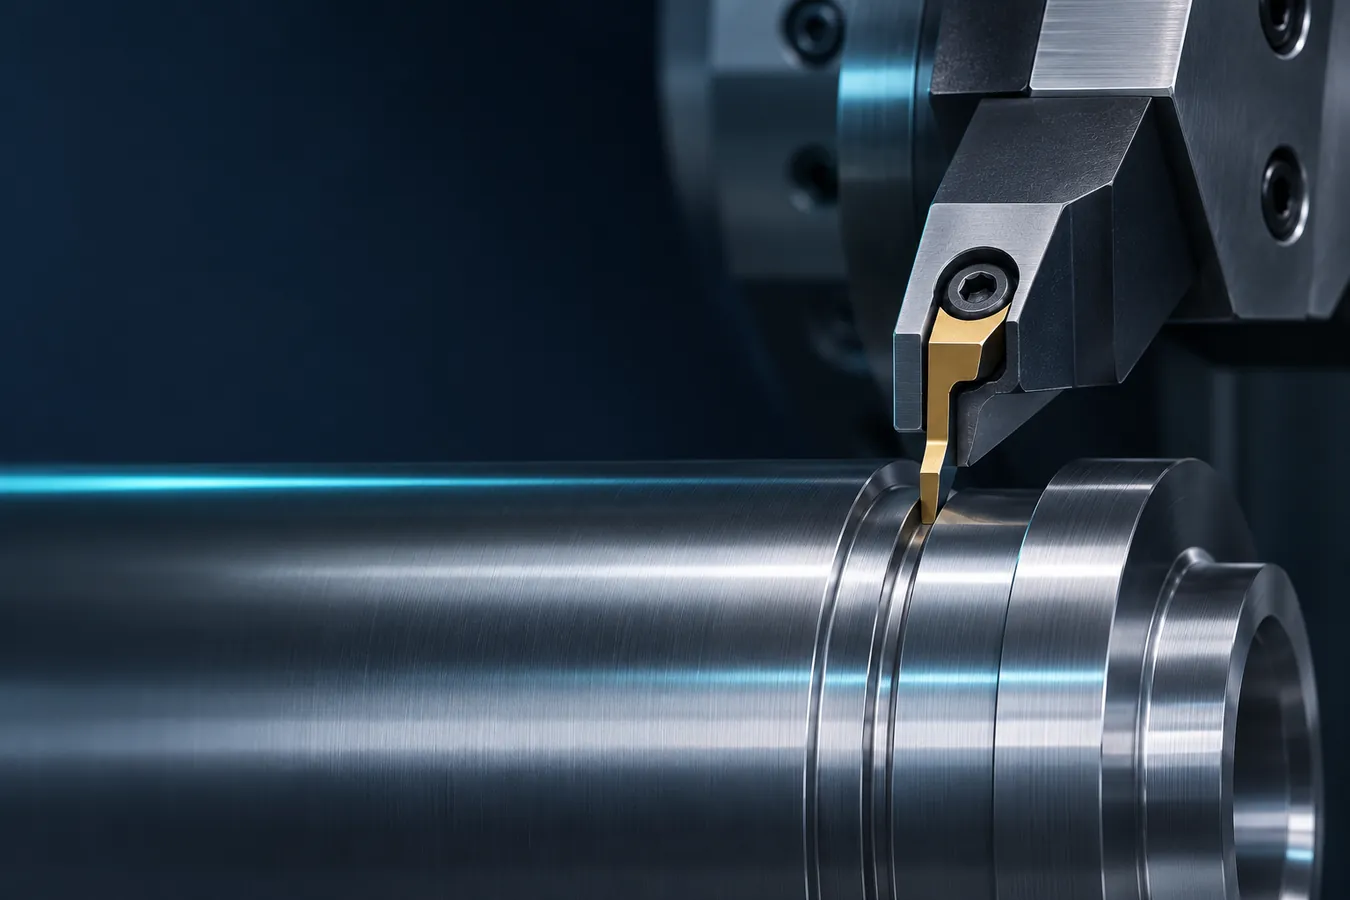
Record chip form as evidence
After a safe stop, note whether chips are continuous, spiral or broken, where they collect and at which operation they form. Record any effect on the part surface or holder. Do not approach moving chips to take a photo.
Chip appearance alone does not prove a single cause. Material, feed, depth, geometry, coolant and evacuation space may all matter. Record the exact insert, grade and holder codes.
Compare the chipbreaker working range
Use the maker’s chart for the exact insert code, operation, depth and feed. A chart for a related family is not a substitute. Finishing and roughing geometries have different working ranges.
Outside the specified range, a chipbreaker may not produce the expected result. Check material and operating point before guessing at a grade change.
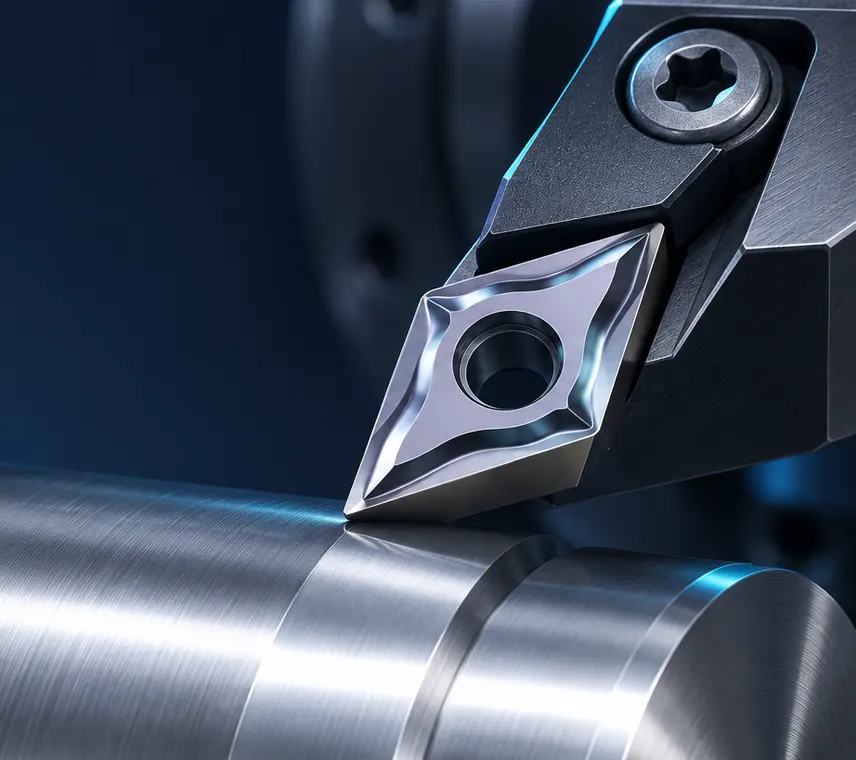
Include material and toolpath conditions
Confirm material number, documented hardness and raw surface from the drawing or supplier. A broad label such as stainless steel does not define the cutting behavior. Grooves, cross holes and interrupted surfaces change edge engagement.
In boring, the clearance around the bar and hole diameter affect evacuation. Even a suitable chipbreaker can clog if the exit path is restricted. Record overhang and coolant access.
Review coolant and evacuation safely
Check direction, continuity and delivery of coolant to the cutting area. Change coolant type or pressure only within equipment limits and maker instructions.
A blocked nozzle or internal path may hinder evacuation. For deep holes, check holders designed for internal coolant in the specific machine. Avoid unapproved hose or pressure changes.
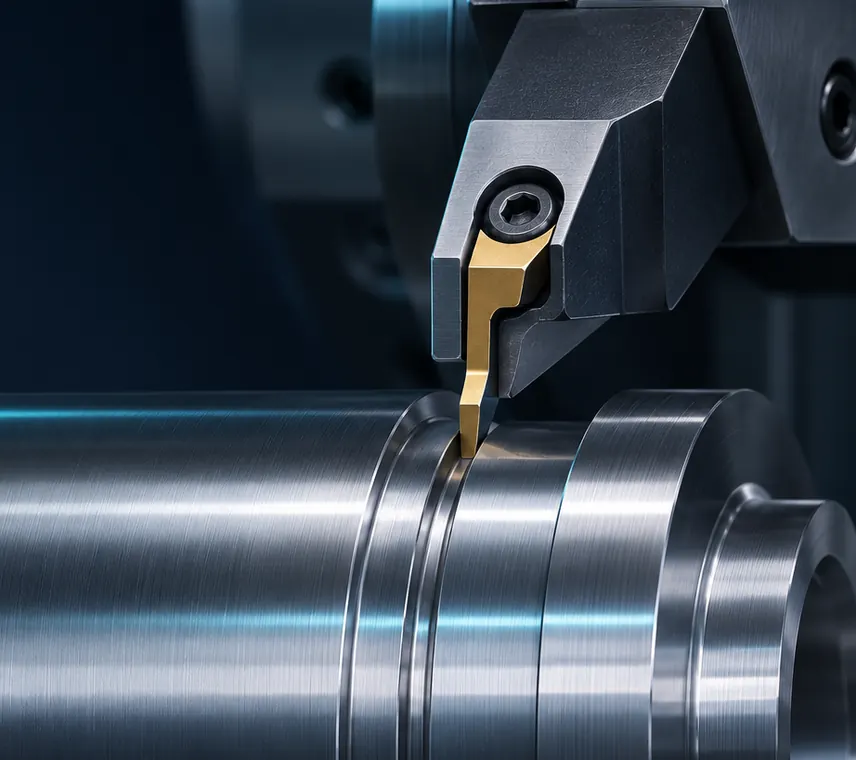
Run a comparable troubleshooting trial
Choose one representative part and one criterion such as chip form, finish, dimension or stops. Record baseline conditions, then change only one approved factor at a time.
Never pull chips from a running machine by hand. Stop and secure the machine using shop procedure. Compare the wear guide if edge condition may be involved.
Prepare a technical enquiry
Share the material, operation, insert and holder codes, approved depth and feed, chip location and recent changes. Take photographs only after a safe stop.
Review the geometry guide and CNC catalog, then submit the exact codes in the enquiry form. Confirm availability and price for the exact model.
Read the chipbreaker range correctly
Record the drawing revision, material condition, raw dimensions, operation sequence, holder code and acceptance criteria. Mark unknown data clearly instead of guessing. A documented selection can be reviewed and repeated when the insert is reordered.
Record chip shape and evacuation path
Match the code on the package, maker catalogue and installed holder. Confirm shape, size, thickness, angle, nose radius and grade. Similar appearance or a similar code does not establish compatibility across brands.
Make changes one at a time
Record current tool life, quality and approved conditions before a trial. Change one approved factor at a time, use a representative part and retain a safe return to the verified setup. A single sample does not guarantee production tool life.
Assess edge geometry with the chipbreaker
Check workholding, overhang, turret fit, insert seat and chip clearance under the machine’s safe procedure. These conditions can affect results alongside the insert. Follow the specific machine manual for setup and clamping.
Review coolant safely
Send the complete holder and insert code, material, operation, quantity, drawing dimensions and quality criterion. Confirm origin, documentation, stock, price and lead time for the exact model before ordering.
Prepare a useful chip-control report
Compare the exact insert code and grade with the maker’s chart for the material, operation, depth and feed. Do not treat a generic finishing or roughing label as a substitute for the documented application range.
Build a traceable case file
Record drawing revision, material, dimensions, operation sequence, holder and insert codes, acceptance criteria and current tool life. Label unknown data instead of guessing. A documented file makes the selection reviewable and helps prevent ordering a tool for an outdated part revision.
Separate an initial suggestion from approval
A preliminary option is not final compatibility approval. Verify the complete code, dimensions, grade, work material and setup with maker documentation and the process owner before use.
Keep purchase and receipt connected
Confirm the exact code, quantity, price, tax and delivery date in a dated quotation. On receipt, compare packaging and product codes with the order and resolve any mismatch before use.
Additional application checks
Read the chipbreaker chart for the exact insert
Compare the actual material, operation, depth and feed with the manufacturer’s chart for the complete insert code and grade. Generic “finishing” or “roughing” labels are not a substitute for the documented application range. Do not infer machine settings from chip colour, sound or appearance.
Record chip shape, location and consequence
Note where the chip forms and where it accumulates, which operation produces it, and whether it affects the surface, holder, cycle or safe collection. Inspect or photograph only after safe machine shutdown. Chip appearance is evidence for investigation, not proof of a single root cause.
Consider material, geometry and evacuation together
Record the documented material condition and any change of material batch. Shape, nose radius, edge preparation, holder rigidity, bore clearance and tool path can all influence chip formation or exit. For boring, note the relevant diameter and length limits. Verify coolant routing only through approved safe procedures.
Plan a reversible, measurable trial
Define the representative part, quality criterion, stop condition and approved baseline before changing one permitted factor. Coordinate any tool, program or coolant adjustment with the process owner. A shorter chip is not automatically an improvement if surface, dimensions, safety or cycle stability become worse.
Make the enquiry specific and verify the proposal
Send the exact holder and insert codes, material, operation, approved conditions, observed chip and the practical problem. Ask for the manufacturer’s application document for the proposed model. Confirm model, origin, stock, price and delivery separately; a general claim of a “better chipbreaker” is not a compatibility guarantee.
Frequently asked questions
Can one insert grade work for every setup?
No. Material, operation, holder, cut continuity and maker data all matter; review the exact code and application.
Does chip shape identify the cause?
No. Chip shape is one observation. Compare material, cutting data, geometry and evacuation before concluding.
What should I include in an enquiry?
Include the complete tool codes, material, operation, drawing or key dimensions, quantity and quality criteria.
Technical references
This guide is general information and does not replace drawings, maker data, safety procedures or approval by the process owner. Confirm the exact model, grade and parameters for the actual part and machine.
Explore the industrial tool catalogue or send an enquiry with your specifications.
Use this guide for initial understanding and comparison. For operating limits, safety and exact settings, follow the manual and datasheet for the specific tool model and your workplace procedures.